
Recovering your Alike Installation
Categories: Disaster Recovery, Alike Installation, XenServer, Physical Systems, Hyper-V, Alike v3, Alike v4
Introduction
Alike’s recovery install procedure can be used in two general situations:
- Recovering with complete backup history from just your ADS (in the case of a disaster, or loss of your Alike server)
- Moving your installation of Alike to another system.
Learn how to recover, repair or migrate your Alike installation in this article.
How to Perform a Recovery Install of Alike
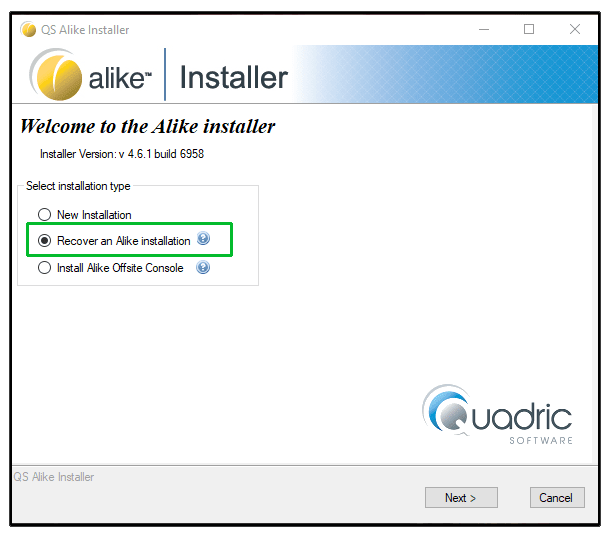
To run a recovery install of Alike, select Alike’s Recovery Installation option from the normal installer executable.
This option will perform the following steps:
- Install a fresh copy of Alike on the new server
- Attach to a pre-existing (or recovered) ADS
- Restore all previous configuration, licensing and backup history from the ADS
Steps
- Make sure the original Alike installation’s services are stopped, and the Alike Manager is closed.
- Make sure the ADS (restored or migrated) is in the location you wish to use permanently.
- Run the Alike installer and select the “Recovery Installation” checkbox on the first page.
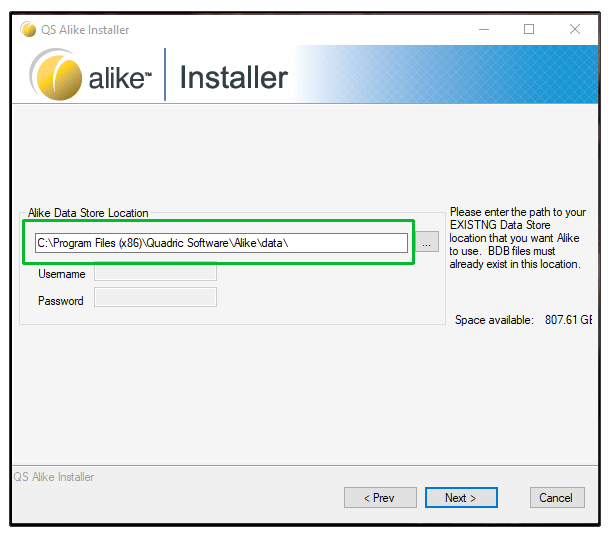
- Follow the wizard and provide the path to the Data Store from Step 1.
- Complete the installer and open the Alike Web UI to verify everything was successful.
Final Notes
If your services fail to start after your recovery install, check your log files for errors. If you see a message like “BDB signature mismatch,” you may need to perform the following additional step:
- From the command line, in the root of the Alike installation folder, execute the following command:
DSRepairTool.exe -s